1
Open Chrome Extensions
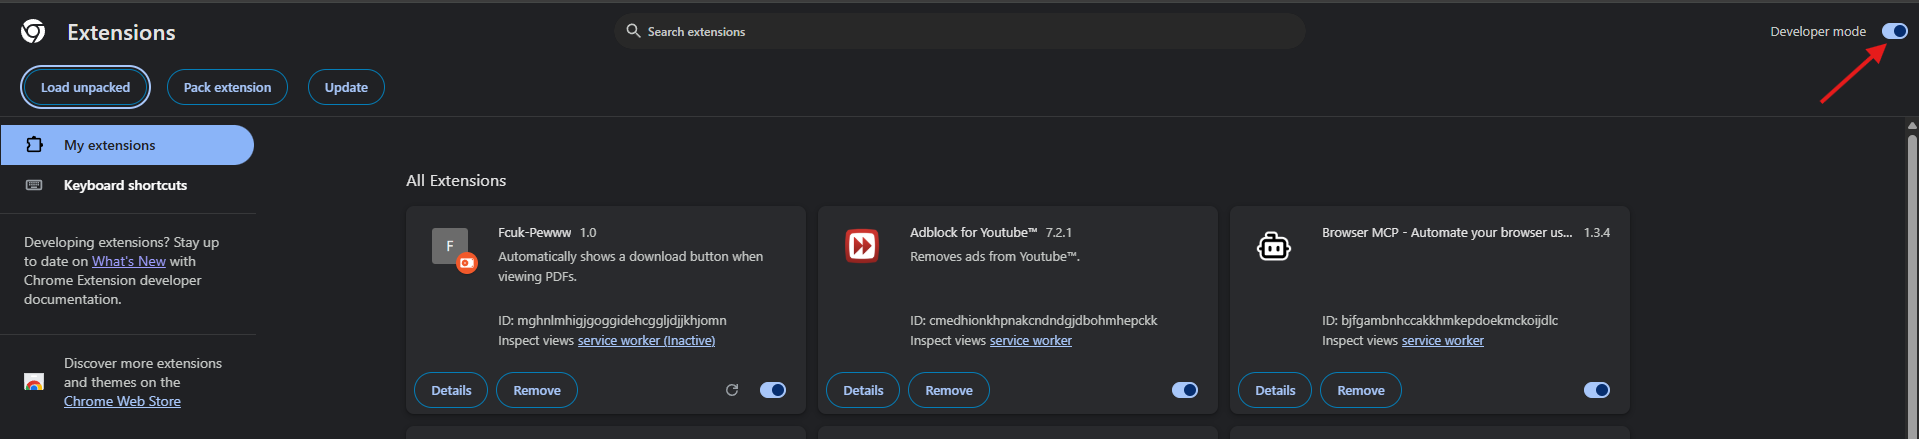
Go to the browser extensions page and turn on Developer mode before loading the folder.
Installation Guide
This guide uses the actual screenshots from your setup flow, arranged in a cleaner Apple-style layout so installation feels simple and deliberate.
Extract the ZIP first, then load the unpacked folder into Chrome or any Chromium browser. Follow the screenshots in order below.
Go to the browser extensions page and turn on Developer mode before loading the folder.
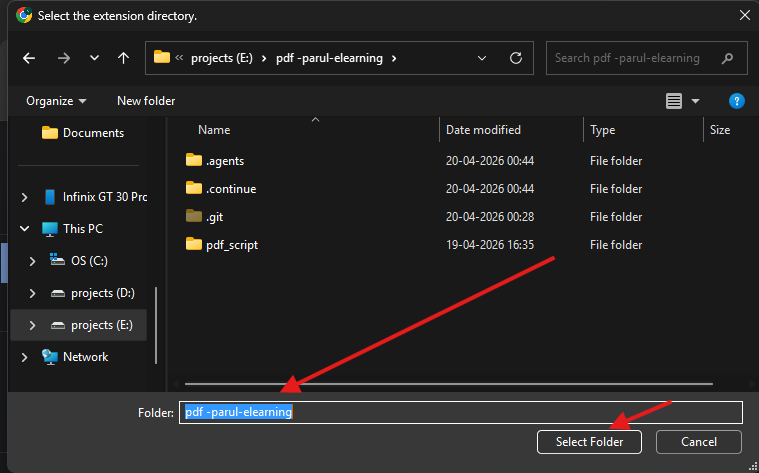
Click Load unpacked, then choose the extracted extension directory from your laptop.
In the folder dialog, select the extracted project folder itself, not a nested file inside it.

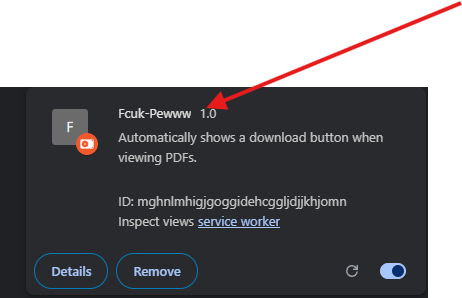
After installation, confirm the extension card is visible and enabled in the extensions list.
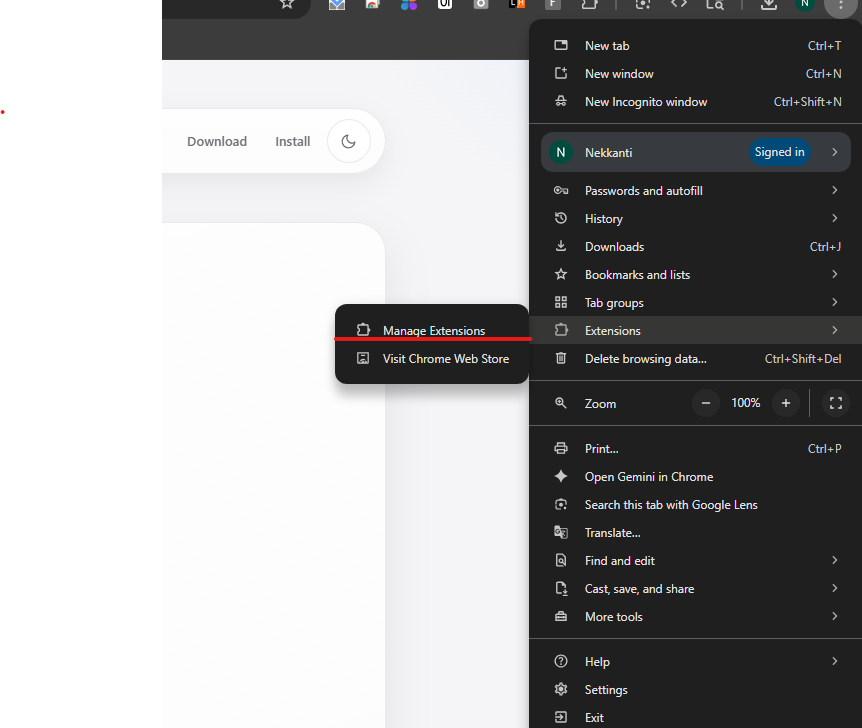
If you need to reopen extensions or troubleshoot, use the browser menu path to access the extensions panel.